Facebook
Instagram
Linkedin
X
Youtube
Travel
Lifestyle
Eat & Drink
What’s On
Directory
Events
Search
Contact
Facebook
Instagram
Linkedin
X
Youtube
Sign in
Welcome! Log into your account
your username
your password
Forgot your password? Get help
Password recovery
Recover your password
your email
A password will be e-mailed to you.
Travel & Lifestyle
Travel
Lifestyle
Eat & Drink
What’s On
Directory
Events
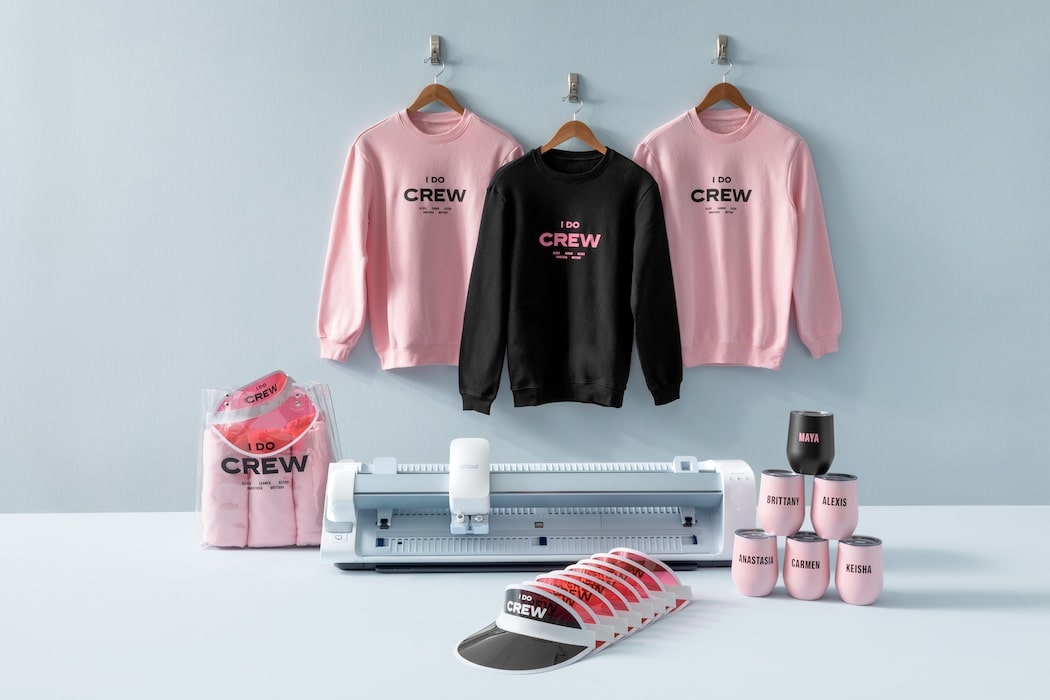
Cricut Venture
Cricut Venture